


Walk into almost any project studio and you will see a pair of monitors sitting on small wedge-shaped foam blocks. Walk into a living room and you may see bookshelf speakers resting on four small rubber feet instead. Both are speaker isolation pads, and both exist for the same reason: a loudspeaker is a mechanical device as much as an electronic one, and everything it touches carries its vibration. This guide explains what isolation pads actually do, how foam wedges differ from rubber isolation feet, how to match a pad to your speaker size, and — just as important — when a pad is not the answer.
What a Speaker Isolation Pad Actually Does
The decoupling principle
When a driver moves, the cabinet moves with it. Newton’s third law does not stop at the speaker cabinet: the force that pushes the cone forward also pushes the cabinet backward, at a much smaller amplitude. If the cabinet sits bolted to a rigid desk, a wooden shelf, or a bare windowsill, that energy travels straight into the surface. A solid desk becomes a secondary radiator — it vibrates at its own resonant frequencies, adds its own colouration to the sound, and in the case of lightweight furniture, can buzz audibly at specific bass notes.
An isolation pad introduces a resilient layer between the cabinet and the surface. High-density acoustic foam compresses slightly under the speaker’s weight and absorbs a portion of the vibrational energy instead of passing it through. Rubber isolation feet work on the same idea with a different material. The goal is decoupling: letting the speaker do its work without using the furniture — or the floor under it — as an unintended extension of the cabinet.
What changes, and what does not
It is worth being honest about what a pad can and cannot change. Decoupling reduces structure-borne vibration: the energy that travels through the desk, the shelf, the wall bracket, and the building itself. In rooms where monitors sit directly on a hollow wooden desk or a resonant shelf, removing that path typically tightens the low end and clears up mid-bass haze, because the surface is no longer reinforcing and smearing certain frequencies.
A pad does not change the speaker’s own tuning, does not fix poor placement, and does not treat airborne reflections from the desk surface in front of the monitor. Angled pads can help aim the tweeter at ear height when the speaker sits below it, which is a geometry improvement rather than an acoustic one. Buyers should treat isolation as one layer of a setup that also includes sensible placement, listening distance, and room treatment — not as a substitute for any of them.
Foam Pads vs Rubber Isolation Feet
The market has settled on two main formats, and they suit different situations.
High-density foam isolation pads
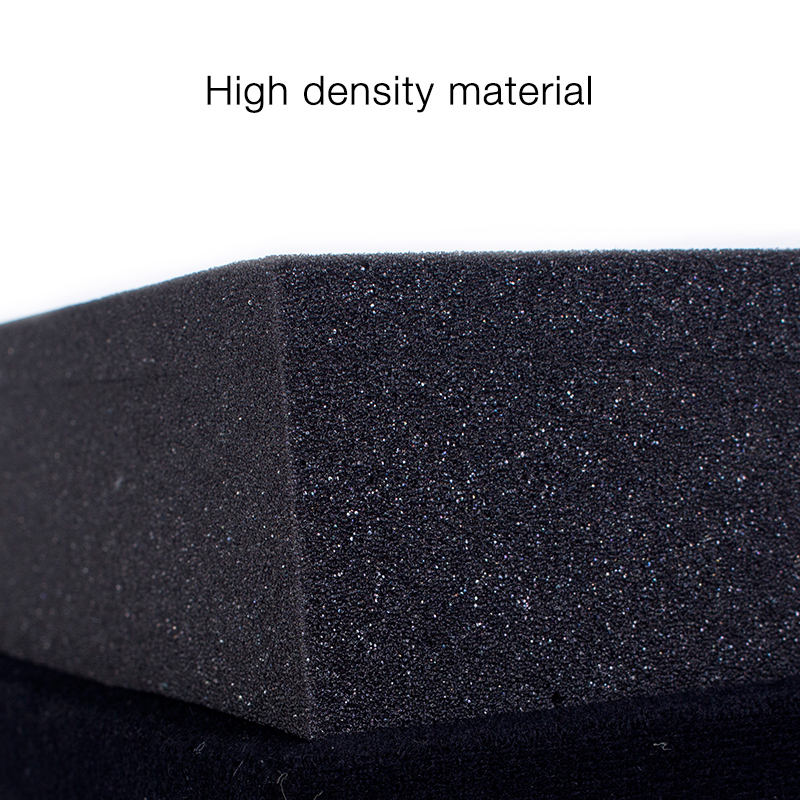
The classic wedge-style pad is a two-part design: a base block and a top block that can be re-stacked in several orientations to produce flat, plus-four-degree, minus-four-degree, plus-eight-degree or minus-eight-degree tilt. Dense acoustic foam carries the cabinet’s weight across a wide footprint, which suits larger monitors and heavier cabinets. The foam layer itself is thick enough — typically around fifty millimetres in the larger sizes — to act as a genuine mechanical break between speaker and surface.
Quality in this category comes down to foam density and consistency. Foam that is too soft will bottom out under a heavy cabinet and stop isolating; foam that is too hard passes vibration straight through. LESOUND’s SF series studio monitor pads use high-density foam sized to specific speaker classes, from compact four-inch desktop monitors up to large fifteen- and eighteen-inch cabinets, with matching wood-top variants for buyers who want a finished look under the cabinet.
Rubber and silicone isolation feet
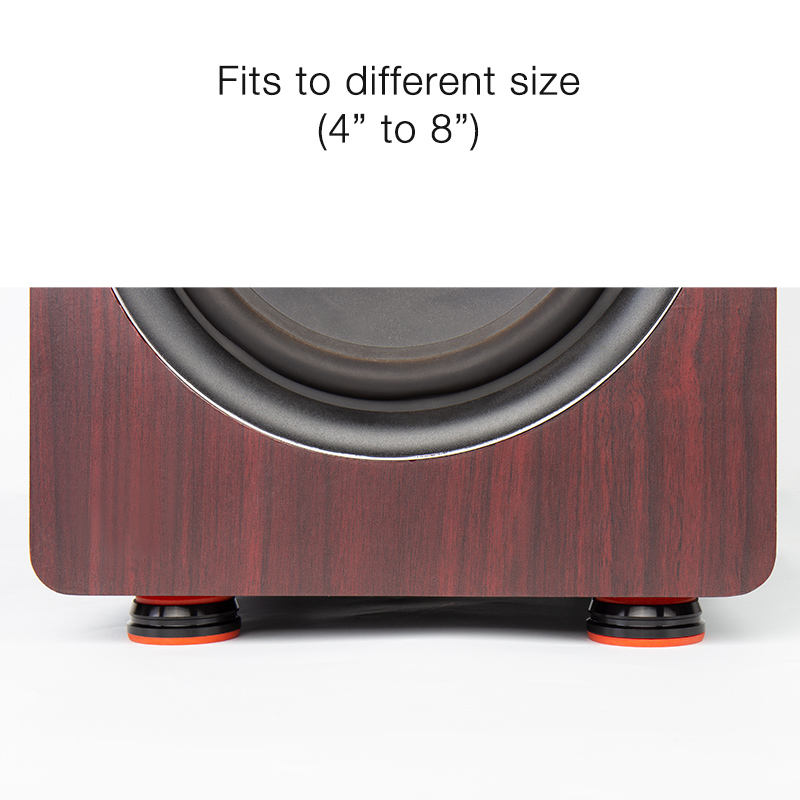
The second format is a set of small feet that stick to, or sit under, the cabinet’s own corners. These suit compact monitors and situations where a visible wedge would be awkward — a speaker on a bookshelf, a surround speaker on a mantel, or a cabinet that already sits at the right height. Four feet per speaker is the standard set, and the approach works best when the cabinet’s bottom panel is reasonably flat and rigid.
LESOUND’s SSA300 isolation feet take this approach: a moulded rubber foot that reduces the vibration a cabinet passes into the surface below it. For buyers specifying complete systems, it is also worth noting that our SS035 and SS036 desktop monitor stands ship with anti-vibration silicone pads built into the platform, angled at five and sixteen degrees respectively — isolation designed into the stand itself rather than added afterwards.
Matching the Pad to the Speaker
Size comes first
Isolation pads are sized by speaker driver class, not sold as one-size-fits-all. The footprint has to support the cabinet’s base with a sensible margin, and the foam has to be formulated for the weight of that speaker class. As a practical guide from the SF series:
- SF106 — compact monitors in the 4″, 5.25″ and 6.5″ class
- SF108 — 6.5″ and 8″ near-fields, the most common studio size
- SF112 — 10″ and 12″ monitors
- SF115 — large 12″, 15″ and 18″ cabinets
- SF070 / SF080 — pad-only variants without the wood top layer, for smaller speakers
Choosing a pad well below the speaker class risks the foam compressing flat and behaving like a rigid coupling; choosing one far above it is simply wasteful of desk space. When in doubt, match by cabinet weight class and base dimensions rather than by driver size alone.
Tilt as a free bonus
The two-part wedge design exists mainly for the tilt options. A monitor placed on a desk below seated ear height will aim its axis at the listener’s chest; re-stacking the pad to tilt the cabinet upward by four or eight degrees brings the tweeter axis back toward the ears. This is why angled pads remain popular even among buyers who are sceptical about isolation claims — the geometry benefit is visible with a tape measure.
When a Pad Is Worth It — and When It Is Not
Situations where decoupling earns its place
- Monitors on a hollow or lightweight desk. Wooden desks and MDF consoles are the most common secondary radiators in project studios. This is the textbook case for foam pads.
- Speakers on shelves or built-in furniture. Bookshelf speakers on a stuffed bookcase, or surround speakers on a cabinet, transfer bass energy into everything around them. Isolation feet are the tidy solution here.
- Downstairs neighbours and shared buildings. Structure-borne bass travels through floors with very little loss. Decoupling a cabinet from the floor path reduces one part of that transmission chain.
- Mobile DJ and event rigs. Where a controller and monitors share one surface — a folding DJ table, for example — the desk panel itself is the resonator. A pad under each monitor, plus a well-braced DJ table, addresses both halves of the problem. For larger booth builds, the same logic applies to the monitoring pair on a DJ booth.
- Home theatre on hardwood floors. A subwoofer or floorstanding cabinet on a suspended wooden floor couples strongly to the room structure. Isolation layers are frequently the pragmatic fix.
Situations where a pad adds little
- Stands that already isolate. If your monitors sit on dedicated stands with built-in anti-vibration pads — the SS035/SS036 desktop stands mentioned above, for instance — adding a foam wedge between cabinet and platform repeats a layer that is already there.
- Rigid, well-braced mounting. A heavy, properly spiked floor stand on a concrete slab has little vibration left to manage at the cabinet interface.
- Very small drivers on inert surfaces. A compact speaker on a heavy stone or solid-steel surface has far less energy to transfer, and the audible difference is correspondingly modest.
One more honest note: for headphones-based work, none of this applies — monitoring on studio headphones bypasses the room and the furniture entirely, which is precisely why many engineers check mixes on headphones after working on monitors.
A Short Buyer’s Checklist
- Match the size class. Choose the pad model by speaker size and cabinet weight, as listed above — the pad should support the cabinet’s base across its full footprint.
- Check the tilt options. A two-part pad with flat, ±4° and ±8° stacking covers every listening geometry you are likely to meet.
- Prefer dense foam over soft foam. Density is what keeps the pad working under load; soft foam collapses and silently stops isolating.
- Decide on the wood top layer. Wood-top variants look finished under a cabinet in client-facing rooms; pad-only variants sit lower and weigh less for travel rigs.
- Count the feet. Rubber-foot sets should be four per cabinet; three is a compromise that leaves the cabinet able to rock.
- Plan the whole surface. The pad decouples the cabinet; the furniture under it still matters. Pair pads with solid stands — see the full range at LESOUND speaker stands.
Working with LESOUND
LESOUND manufactures speaker stands, isolation accessories and cables in its own factory, with the Yinyu brand covering the stand and accessory lines. The SF-series isolation pads and SSA300 isolation feet described here are part of that same accessory programme, built to pair with our SS-series speaker stands and desktop monitor stands. For distributors and studio integrators, the range is available for OEM programmes — private labelling, packaging and custom specification are all part of the normal conversation. Contact LESOUND with your speaker size range and target market, and we will help you specify the right pad set for your catalogue.
Post time: Nov-17-2026